Elevate Your Night Photography: The Ultimate Guide to Green Laser Light Painting
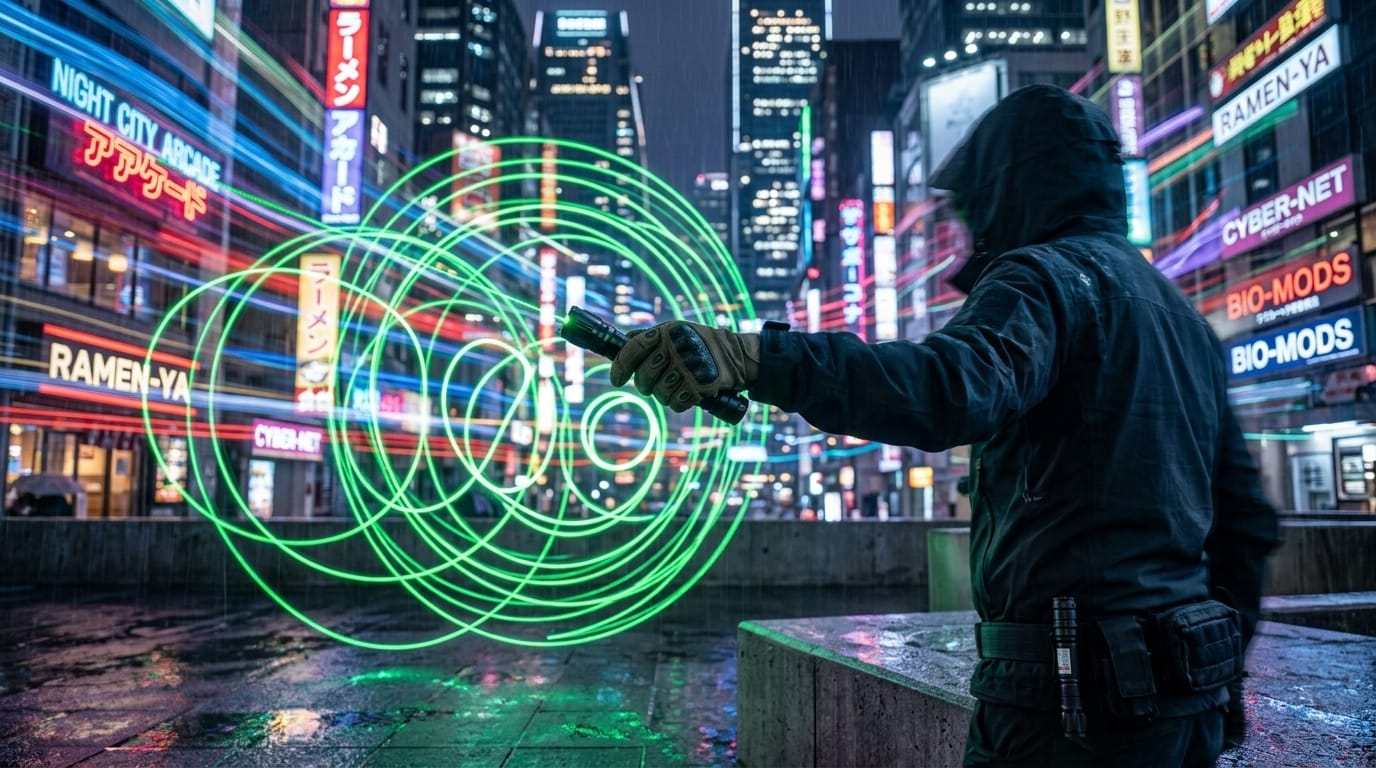
Photography is fundamentally about mastering light, but what happens when the sun goes down? While traditional flashlights and LED panels certainly have their place, modern creatives are turning to a much more precise and striking tool to illuminate the dark.
Enter the world of green laser light painting. Whether you are an amateur trying to spice up your long-exposure shots or a professional seeking striking geometric effects, a high-power green laser pointer is your new secret weapon.
The art of light painting has evolved dramatically over the past decade. What began with photographers waving simple flashlights in front of their lenses has grown into a sophisticated discipline with dedicated communities, international competitions, and an ever-expanding toolkit of specialized light sources. Among these tools, the 532nm green laser occupies a uniquely powerful position—it delivers a brightness, precision, and spectral purity that no LED wand or flashlight can replicate. The resulting images carry a distinct visual signature: razor-sharp beams of neon green cutting through darkness, creating compositions that feel equal parts scientific and magical.
1. Why 532nm Green Lasers Dominate Long Exposure
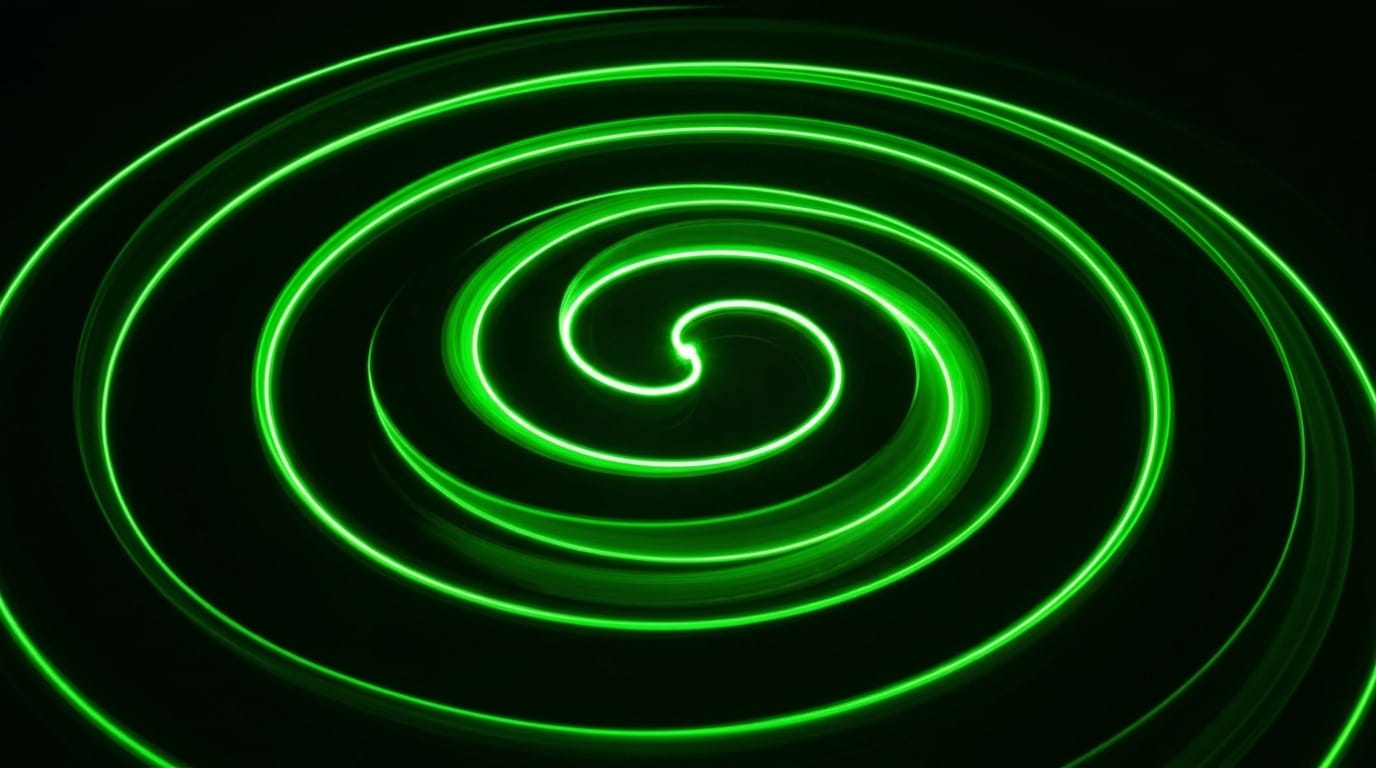
When your camera shutter is left open for 10, 20, or even 30 seconds, every single light source is drastically magnified. A 532nm tactical green laser is inherently superior for this artistic application because the human eye—and camera sensors—are extraordinarily sensitive to the green wavelength.
Unlike standard red or blue lasers, a 532nm beam easily cuts through atmospheric haze thanks to a scientific principle called Rayleigh scattering. This allows you to capture a solid, glowing "lightsaber" effect perfectly on camera, adding a distinct sci-fi aesthetic to any landscape.
To appreciate why green lasers photograph so brilliantly, it helps to understand how digital camera sensors work. Most CMOS and CCD sensors use a Bayer filter array where 50 percent of the photosites are dedicated to green light, with only 25 percent each for red and blue. This mimics the human eye's own bias toward green sensitivity and means that a green laser beam registers on more sensor pixels than any other color. The result is a cleaner, brighter, and more saturated beam in your final image, with less noise and fewer interpolation artifacts than you would get from red or blue laser sources.
Furthermore, the collimation of a quality green laser—its ability to maintain a tight, parallel beam over distance—far exceeds what you can achieve with any flashlight or focused LED. While even the best LED spotlight produces a cone of light that widens rapidly and loses intensity, a laser's beam remains concentrated for thousands of feet. In a long exposure photograph, this translates into crisp, defined lines that retain their brilliance from foreground to background, a quality that is nearly impossible to fake in post-processing.
2. Mastering the Creative Effects
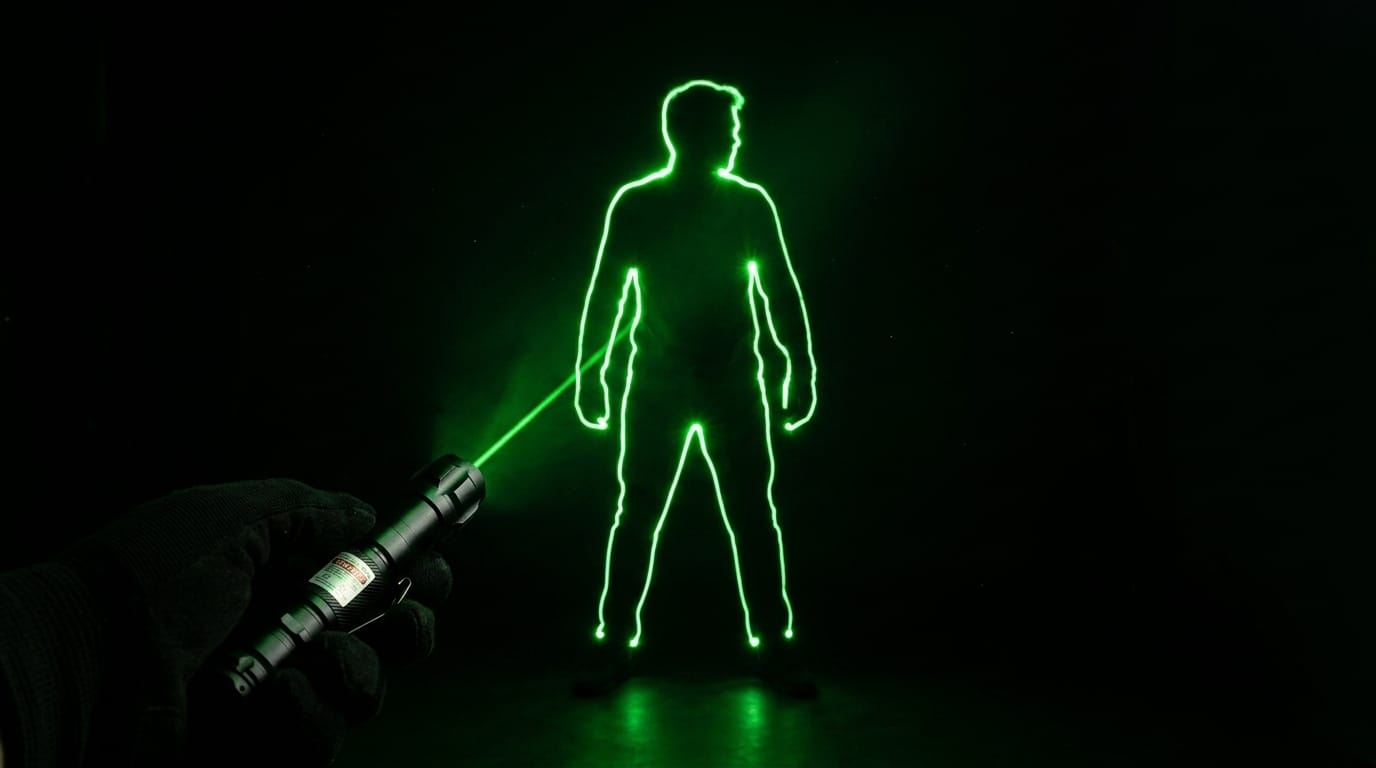
To get the absolute most out of your green laser in night photography, you need to understand how to manipulate the intense beam during a long exposure:
- The "Lightsaber" Strike: Point the laser directly up into the misty night sky and slowly walk through the frame. The camera will capture a continuous, solid pillar of neon green light interacting with the atmosphere.
- Kaleidoscope Textures: By using the detachable star-cap head on your tactical laser and twisting it while the shutter is open, you can paint dynamic, starry textures across abandoned buildings or natural rock formations.
- Subject Highlighting: Standing far out of the frame, you can quickly sweep the green beam over specific trees or architectural details to "paint" them into the foreground without overexposing the entire scene.
- Geometric Wireframes: Use the laser to trace invisible three-dimensional shapes—cubes, spheres, spirals—in the empty space between camera and subject. When the shutter closes, these ghostly green wireframes appear to float in midair, creating a surreal augmented-reality aesthetic without any digital manipulation.
- Multiple Laser Orchestras: Deploy two or three green lasers simultaneously, each held by a different person positioned at various depths within the frame. The beams interweave, creating complex layered compositions that suggest depth, motion, and interaction impossible to achieve with a single light source.
- Reflective Surface Play: Aim the laser at bodies of water, polished metal surfaces, or glass buildings. The beam will reflect and scatter in unpredictable patterns, creating ethereal secondary light trails that add organic chaos to an otherwise controlled composition.
Experimentation is the key to discovering your signature style. Some photographers prefer tight, controlled geometric patterns, while others embrace wild, improvisational sweeps that feel more like abstract expressionist painting than technical photography. The beauty of laser light painting is that there are no fixed rules—only the physics of light and your own creative courage.
3. Essential Gear and Safety for Photographers
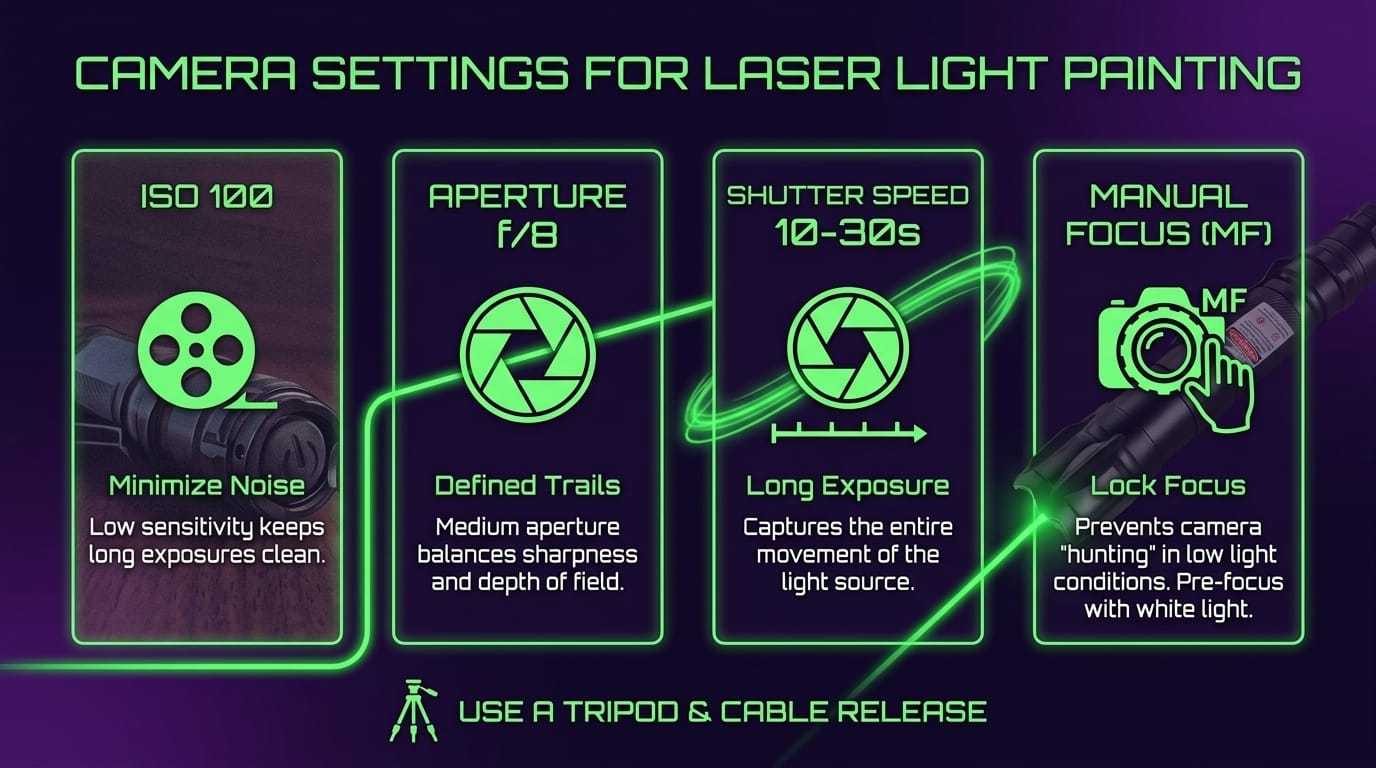
Using lasers in photography requires both the right equipment and responsible handling. Always ensure your camera is set to manual focus; autofocus notoriously struggles in low light, and the intense moving laser dot can easily confuse your lens's tracking sensors.
Most importantly, prioritize safety. Never point a high-power laser near roads, aircraft, or directly into a camera lens. An intense, direct hit from a high-output laser can permanently damage a digital camera's sensitive CMOS sensor.
Your supporting gear matters nearly as much as the laser itself. A sturdy tripod is non-negotiable—any camera movement during a 30-second exposure will blur not only the laser trails but the entire background. Invest in a remote shutter release or use your camera's built-in timer delay to eliminate the micro-vibrations caused by physically pressing the shutter button. If you plan to walk through the frame while painting, wear dark, non-reflective clothing to minimize ghosting artifacts where your body partially catches ambient light.
Lens selection also influences your results significantly. Wide-angle lenses in the 14mm to 24mm range allow you to capture vast laser-painted landscapes, including dramatic skies and expansive foregrounds. For tighter, more intimate compositions, a 35mm or 50mm prime lens delivers superior sharpness and light-gathering capability. Whatever lens you choose, fit it with a lens hood to minimize flare from stray laser reflections, and consider using a UV or clear protective filter that can be sacrificed if an accidental direct laser strike occurs.
4. Advanced Techniques for Stunning Compositions
Once you have mastered the basics, a world of advanced techniques opens up. Combining lasers with traditional light sources—warm-toned LED panels, handheld flash units with colored gels, or even simple sparklers—adds temperature contrast to your images. The cool, clinical precision of green laser light plays beautifully against warm amber or orange fill light, creating visual tension that draws the viewer's eye through the frame.
Fog machines or natural mist are a light painter's best friend. When a green laser beam passes through suspended moisture particles, Rayleigh scattering becomes dramatically visible, transforming a thin line into a volumetric, three-dimensional column of light. On humid nights or in locations near waterfalls, rivers, or coastal areas, natural atmospheric moisture can produce this effect without any artificial assistance—check your local weather conditions before heading out and prioritize evenings with high humidity or light fog for maximum beam visibility.
For those willing to push further into experimental territory, combining laser painting with steel wool spinning, drone-mounted lights, or programmable LED poi creates multi-layered images that blend wildly different light signatures into a single cohesive frame. The green laser often serves as the structural backbone of these complex compositions, providing sharp, guiding lines that organize the softer, more chaotic light elements around them.
5. Post-Processing Tips for Laser Light Photographs
While the goal is always to capture as much in-camera as possible, thoughtful post-processing can elevate a good laser light painting into an exceptional one. Start by adjusting your white balance—camera sensors often render green laser light with a slight yellow or cyan cast that can be corrected by shifting the green channel slightly toward a truer emerald tone.
Selective saturation adjustments are particularly powerful with laser photographs. By slightly desaturating the background while boosting the luminance and saturation of the green channel, you make the laser trails pop dramatically against a more muted environment. Use radial gradient masks to vignette the edges of the frame, naturally drawing the eye toward the laser-painted focal point at the center of the composition.
Avoid the temptation to over-sharpen laser trails, as this can introduce harsh digital artifacts along the beam edges. The organic softness of a real laser beam interacting with atmospheric particles is part of what gives these images their authentic, analog feel. Preserve that quality rather than trying to make every beam edge razor-sharp.
6. Common Mistakes and How to Avoid Them
Even experienced photographers encounter pitfalls when first venturing into laser light painting. The most frequent mistake is overexposing the laser trails, which results in blown-out white cores with no visible green color. Start with a lower ISO—typically 100 to 400—and an aperture around f/8 to f/11, then adjust your shutter speed based on how much time you need to complete your light painting movements.
Another common error is neglecting to scout your location during daylight hours. Composition, safety hazards, and interesting foreground elements are all vastly easier to identify with full visibility. Arrive at your chosen site at least an hour before sunset, set up your tripod, frame your shot, and mentally rehearse your light painting movements before darkness falls.
Finally, remember that laser light painting is physically demanding in ways that traditional photography is not. You will be walking, crouching, twisting, and moving through often uneven terrain in complete darkness while a long exposure is running. Wear sturdy footwear, bring a headlamp with a red light mode to preserve your night vision between shots, and always let someone know where you will be shooting and when you expect to return.
The Verdict: A Creative Must-Have
A reliable tactical green laser is no longer just a tool for stargazing or survival; it has evolved into a profound creative instrument. By mastering simple light painting techniques, you can completely transform ordinary nightscapes into surreal, breathtaking masterpieces.
In the hands of a patient and imaginative photographer, the 532nm green laser becomes a paintbrush of pure light—one that writes across darkness with a brilliance no other tool can match. Whether you are an established professional looking to add a new dimension to your portfolio or an enthusiastic beginner searching for your creative voice, this remarkable technology offers a path to images that genuinely stand apart.
Ready to Transform Your Night Shots?
Add the ultimate creative lighting tool to your camera bag today. Discover the precision of our high-power green lasers and start capturing impossible photos.
Shop Photography Lasers Now